Sunday 22 November 2015

23/11/15 - Intentions Unit Evaluation

My journey throughout the Intentions unit has been a really interesting one. I feel like I've had a lot up downs rather than ups but kept pushing myself to work harder and find what suits my skill set, when working with materials, machines and techniques. My focus was mainly on monochrome colours and circular shapes in this unit as you could probably tell by scrolling through my blog! I wouldn't say I have necessarily enjoyed this unit as I worked with a familiar colour  palette; first year first unit.. I felt some sort of breakthrough towards the end of the unit when I gathered all my work together and saw how everything came together. All my research didn't really all link together as I did steer the wrong way halfway through the unit. This was maybe because I was too cautious about getting the overall sample done rather than working in detail and thinking about my mark making. If I had more time or had the chance to do this unit again, I think I would have explored with colour more. One major thing I would have developed in is the 3D structures of my materials when they have been distressed by the embellisher. I can see that technique developing into something as a structural/ installation piece.


I feel like I have found my way around working with the embellisher and how I can make different marks and also develop on them.

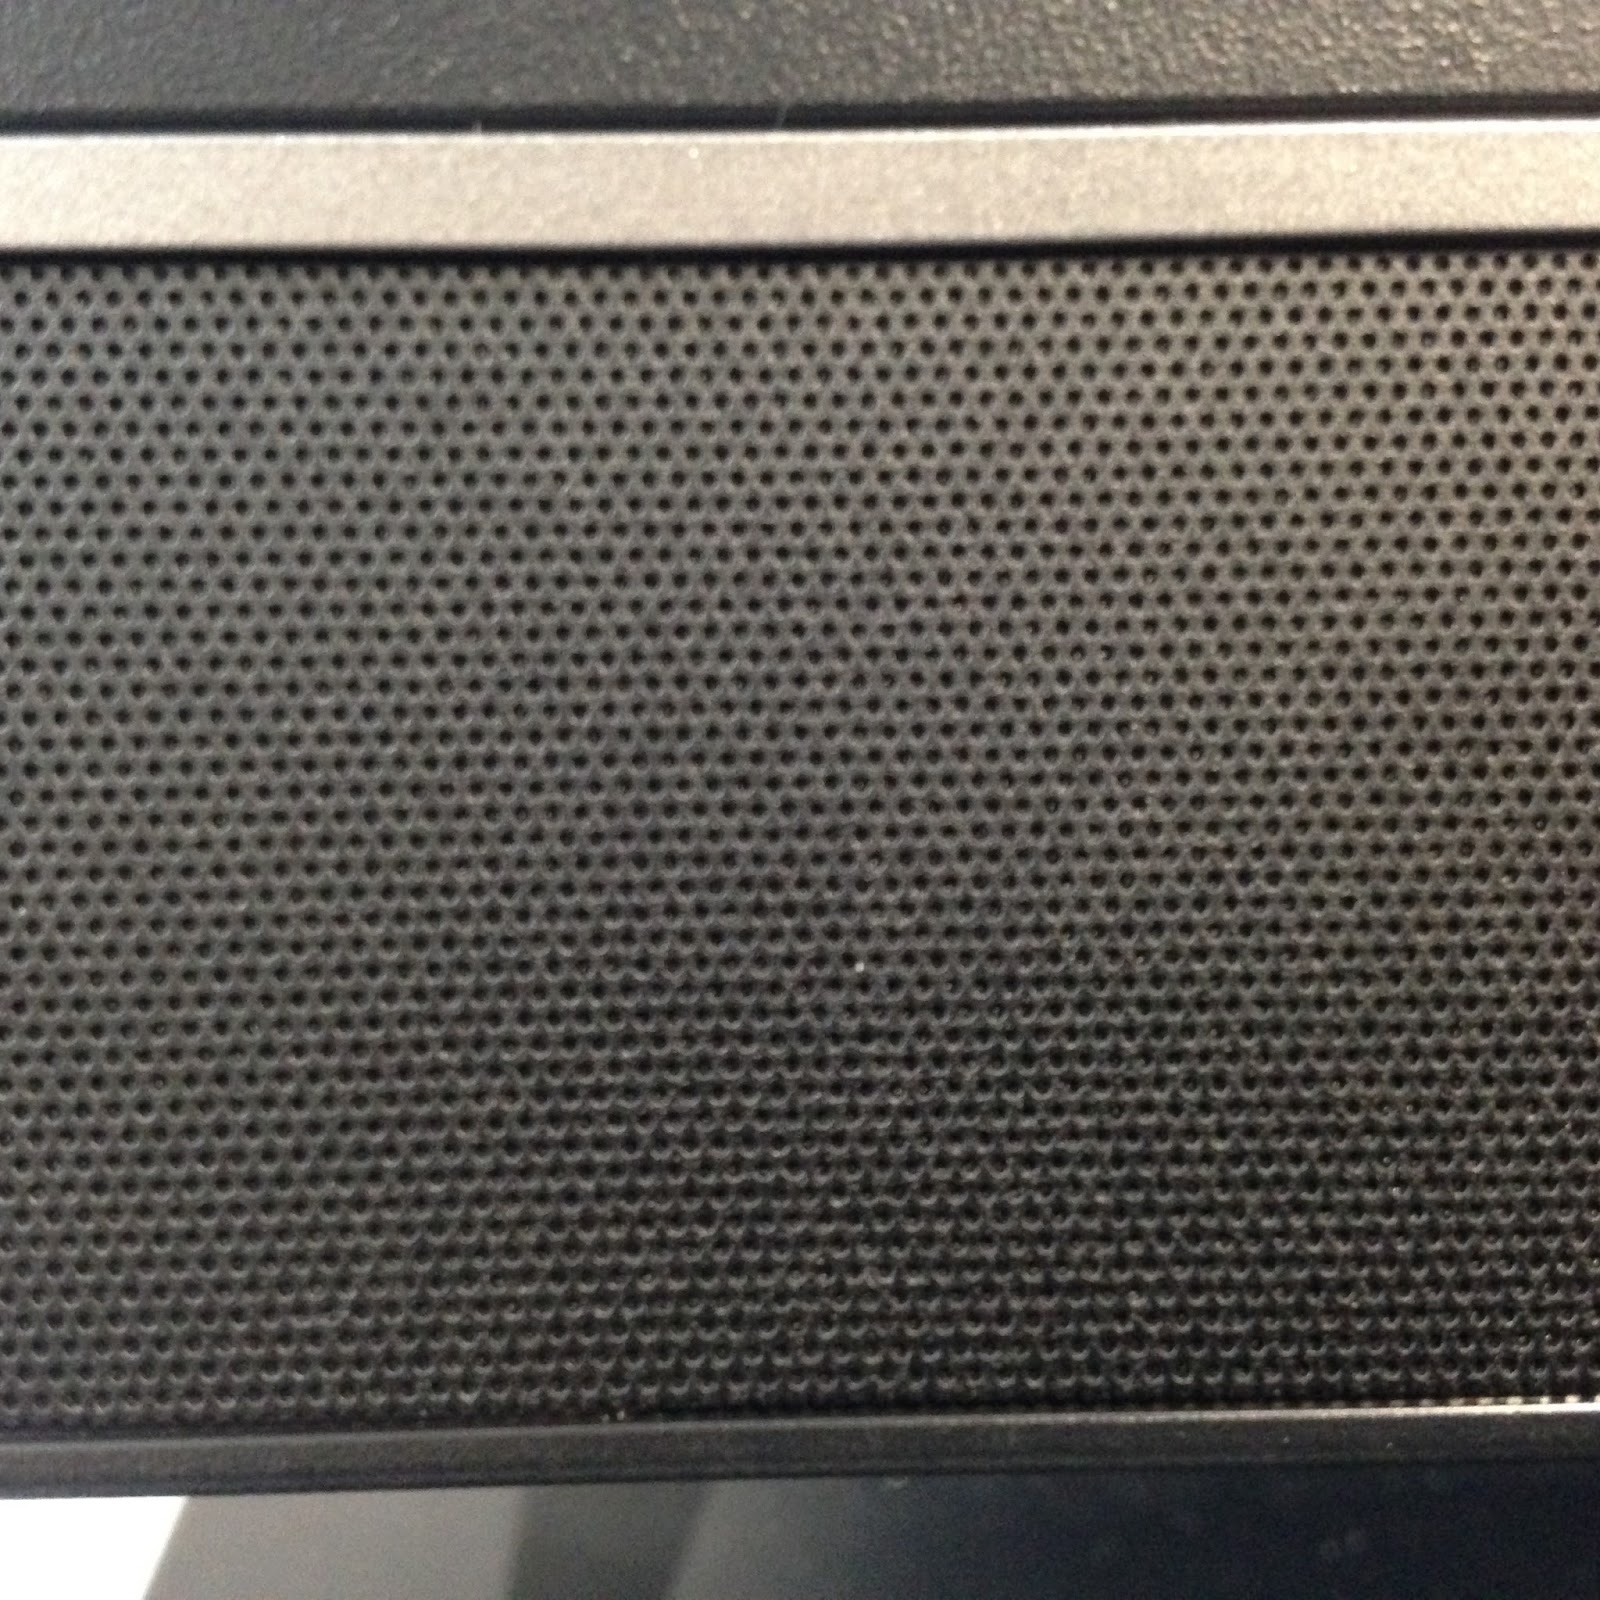
My top eight samples;


Monday 9 November 2015

09/11/15 - How to Bring Everything Together

How can I bring my final samples together?


From being introduced to new techniques every week, I feel my drawings and sample have developed from these opportunities. Looking back at this particular collection of drawings, I thought about how I could use the fagotter to link my samples. Alternatively, I could hand stitch the samples using the design handout from the session.

Friday 6 November 2015

06/11/15 - Irish Machine

This week I was introduced to the Irish machine. From testing out the different types of threads the machine used and how it can work with layers. I thought about how I could relate the idea of layering in my work by using shades of blacks and whites in my sample and give the illusion of shadows. This risk taking turned out to be fail after several attempts.


Thursday 5 November 2015

05/11/15 - Giles Miller Studio Lecture

The Giles Miller Studio lecture was presented the founder Giles Miller. He explained where he started from and where he is now, how he makes his work, how much they are and who works for him. The company has various people from different background such as architecture, textiles, product design etc. Towards the end of Millers third year in his BA Hons in Product design, he began making a laptop case out of cardboard so from there, his specialism developed.

Below are just some of the examples of his/ teams work; images used from Giles Miller Studio.

Giles Miller Studio

Giles Miller Studio

Giles Miller Studio
 
The way Miller explained how he didn't plan to become this big interiors design company , inspired me to look at what I would want to do in a couple of years time (which is being an Art teacher). So from the introduction of the Careers lecture, I have visited and spoken to the careers people and have a vague plan on what to do in my third year, after I graduate in 2017 and what my options are if I decide to do free lancing or something else within the art industry.

05/11/15 - Further Research

I felt that my one piece of drawing was dying out a little so to develop from this, I have drawn up a few more drawings based from the originals and combined my new visual research within them.


So I went out looking at stuff that had my colour scheme and elates to my mark making.


05/11/15 - Feedback

From the critical feedback I began organising my samples and planning what to do with them beforehand as you can see in Fig 1.

Fig 1


This sample is one of my favoured one as it is 3D and has different textures within it. It also links in well with my drawings as it has shadings.


This sample was a accidental one but I continued with it because of the effect it gave off and it was simple to create and required minimal techniques; meshed well with my concept which complex and minimal.


A lot of the samples did not go to plan as machines were not able to work with the materials because of the thickness of it or the threads/ cotton balls I was using. Therefore, I was left to work with something else which I found challenging but I had to question;
what materials can I use?
what machines will be willing to work with them?
how can I bring two or more materials together if necessary?


From this unit so far, I have noticed that I work better at sampling with materials first rather than drawing on paper. From today's review, my peers recommended that I could draw from my drawings so this is something that I will be developing on in the last few weeks left of the unit and also in the future.

From looking at all my samples that I have done so far, I have noticed that my work is lacking in the hand stitching area. So to recover from this area, I began doing simple hand stitching on some of my samples that I learnt last year. This can bee seen below in Fig 2.